In this post, let’s take a look at how instrument clusters at Mercedes Benz took form. Then, there is a section briefly describing the techniques used to recreate a recent cluster launched as a part of MBUX 2.0.
The History
The first form of digital screens were introduced around 2000s. They were mainly restricted to be used in the center. The instrument clusters were largely analog displaying essentially the same information such as speed, RPM, fuel, oil temp, caution lights etc.
Recreation
Below is the design of an instrument cluster released as part of the second generation of MBUX, which is featured on the “hyperscreen” included in various new models such as the EQS.
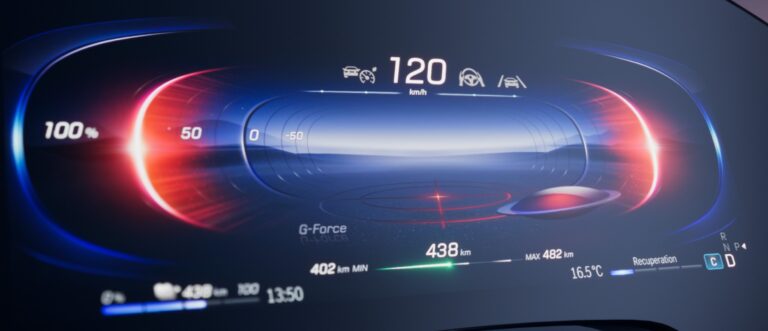
Here, I attempted to recreate the above instrument cluster. While the original cluster features elements that appear photorealistic and the recreation is not an exact replica, I’ve made an effort to capture all the major elements involved in the design.
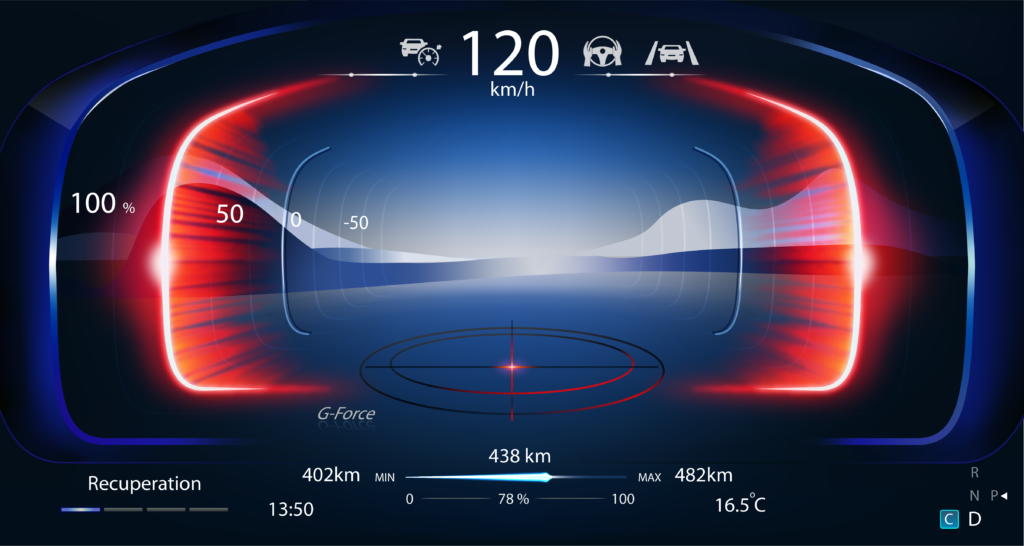
This type of work has 2 advantages:
1. Getting more experienced and understanding the limitations with the software. (Adobe Illustrator in this case)
2. Documenting the finer details incorporated in the design.
Let’s take a closer look at some of the elements.
The Finer things
The cluster recreation has been accomplished solely using Adobe Illustrator. Lets look at the process of recreating some of the details. Also some of the details do not look the same. Please include any suggestions in the comments below.
Background
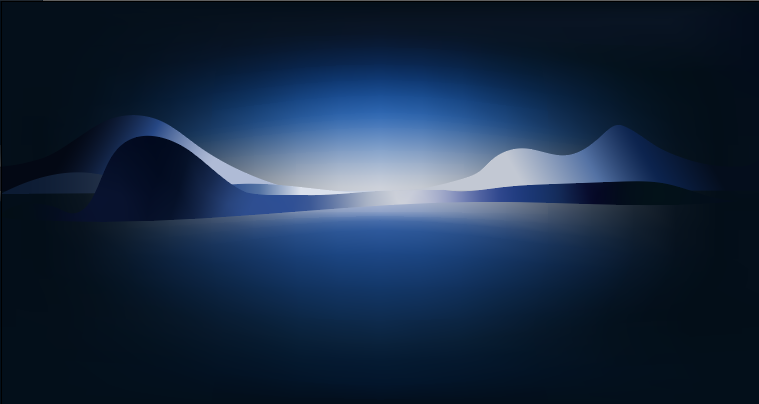
Background was created using a gradient mesh and mountains using pencil tool with freeform gradient applied to them.
Range Bar


The effect has been created using color dodge, at least the gradient part. The lens flare effect could be recreated using multiple thin ellipses with the same color dodge effect. But since I chose a lower resolution canvas to start with, the effect looked out of place and hence has been left out.
G-Force Indicator

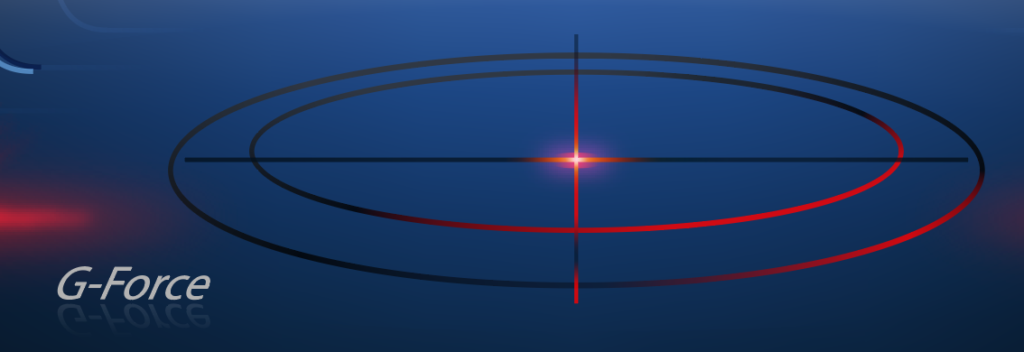
Created using simple gradients. The original appears more faded because of the light in the center of the screen. Now that I think of it, the background mesh can be reapplied as an overlay on top of the cluster to recreate the proper exposure. It didn’t work.
Outer meter boundary
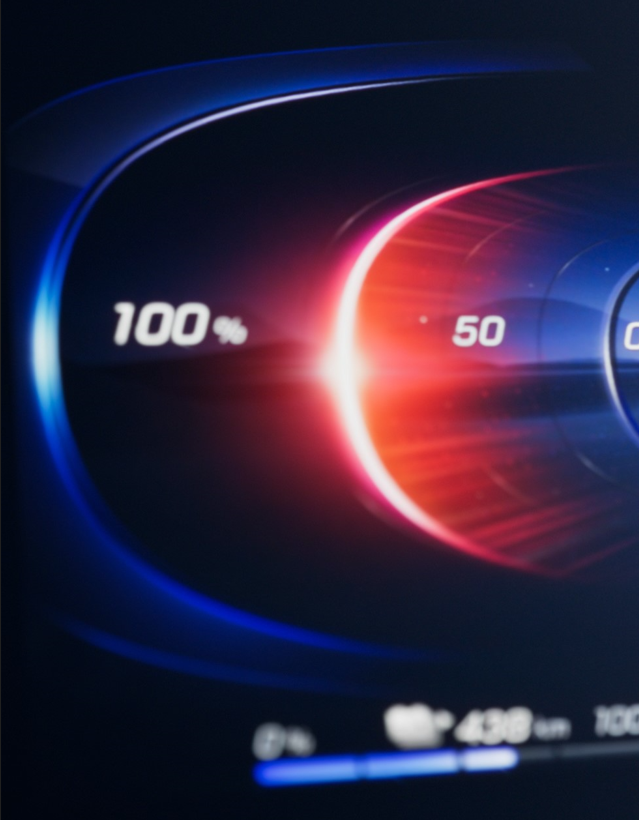
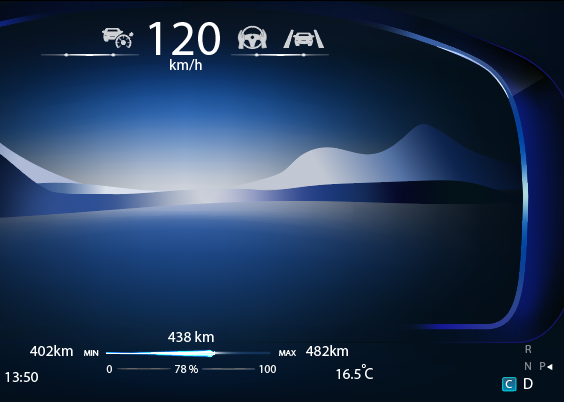
Recreated mostly using free-form gradients.
Speed Indicator
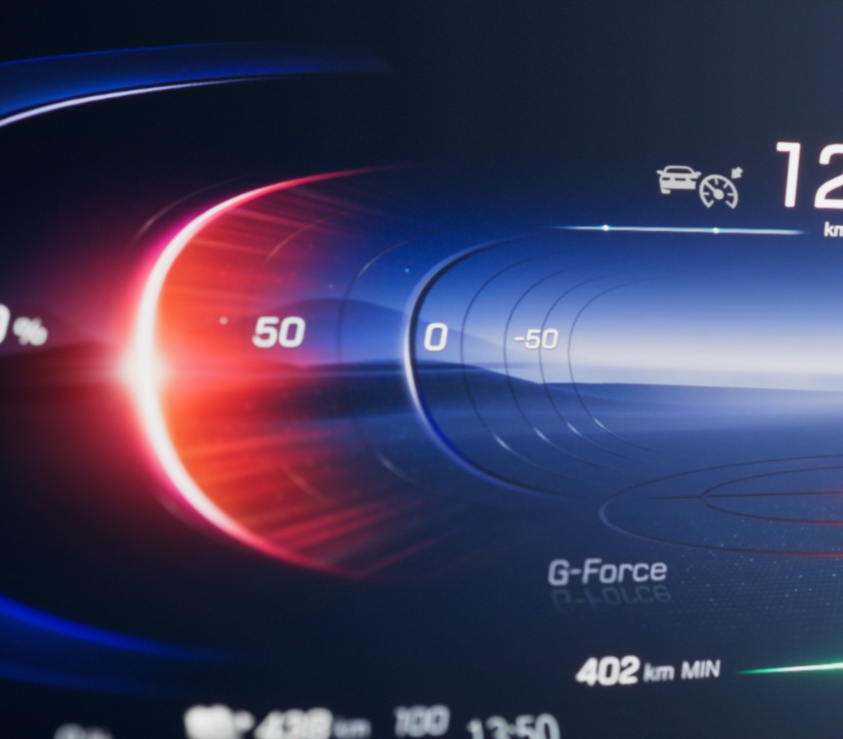
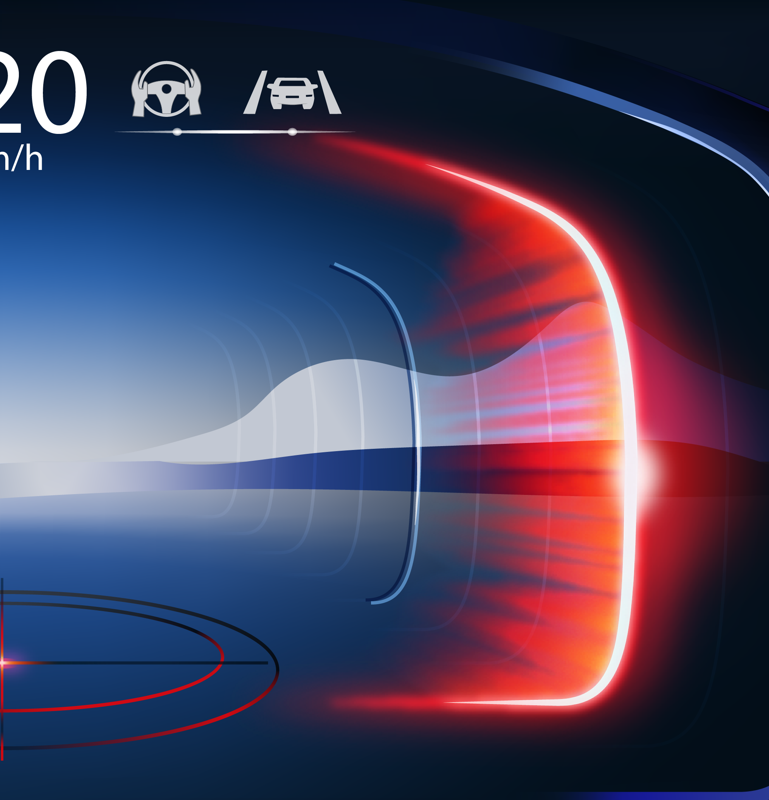
Directional blur effect recreated using multiple half ellipses that have been combined with the central indicator and additional parts trimmed. A gaussian blur layer has been applied on top of it. This layer also has the color dodge effect to create the orange to red transition as we move towards center.
The center part has been recreated using gradients and applying multiple gaussian blur layers.
Feedback
These are some of the main elements that I thought were worth discussing. I once again want to reiterate that the recreation does not look very similar to the original. I am open to feedback and definitely want to know how the original was created. Leave your feedback in the comments below. Thank you !
One response to “MBUX Cluster : Study and Recreate”
Enter any comments below. Thanks.